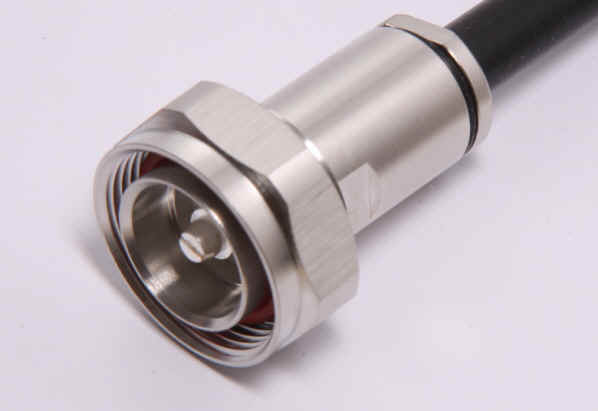
Bild 1
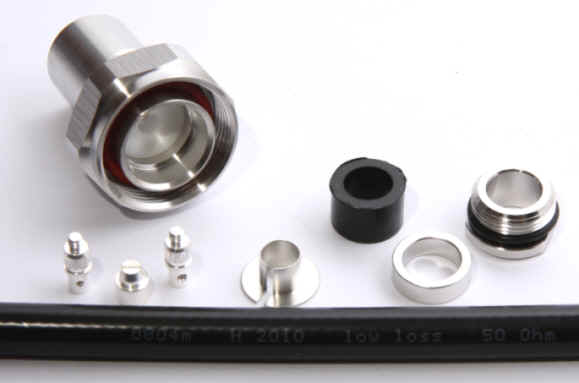
Montageanleitung für den Stecker/die Buchse
Assembly
information for 7/16 male and female
7/16-m-10 TA (Stecker)
7/16-f-10 TA ( Buchse)
passend für die Kabel: Aircom Plus
fitting for the cables
H 2000 Flex
H 1000
LMR 400
RG 213 U und ähnliche and similar
Ecoflex 10, H 2010 (Mittelkontakt m. größerem Loch)
(center pin with bigger hole)
verwendetes Kabel: H 2010
used cable: H 2010t
Bild 1
Bild 2
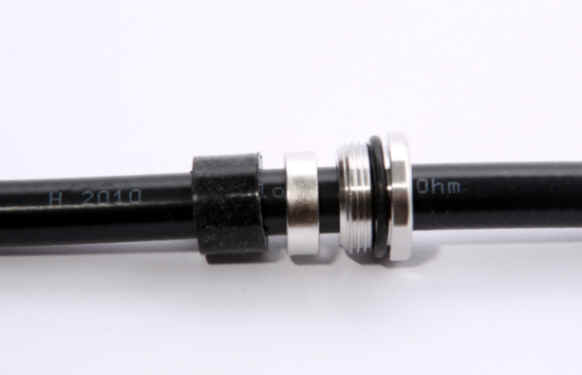
Bild 3
Setzen Sie die Spannschraube, den Anpressring sowie die
Gummidichtung auf das
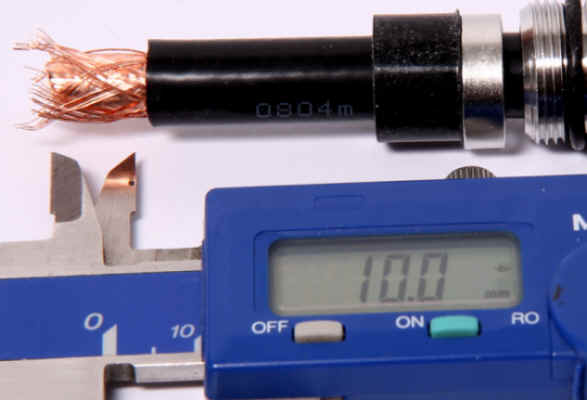
Kabel. Schneiden Sie etwa 10 mm von der Außenhaut, wie es
auf Bild 2 ersichtlich ist.
First place die nut, then the metal ring and finally the rubber ring on the
cable. Then
please remove about 10 mm of the outer sleeve. (as you can see on the
photo)
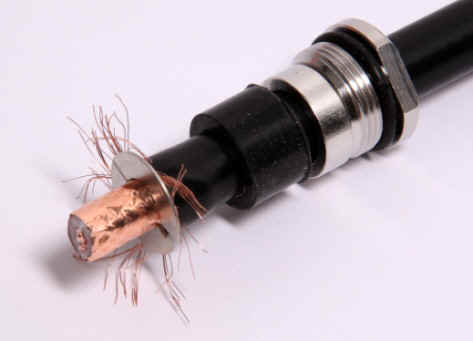
Schlagen Sie das Kupfergeflecht wie abgebildet zurück.
Fold the braid copper as you can see above.
Bild 4
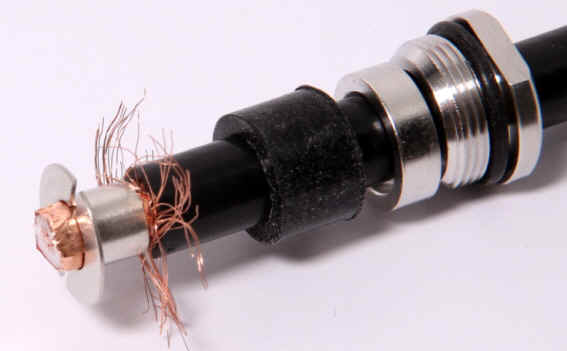
Bild 5
Schieben Sie die Massehülse bis an die Außenhaut.
Now press the metal hat against the outer sleeve. against
the metal hat.
Bild 6
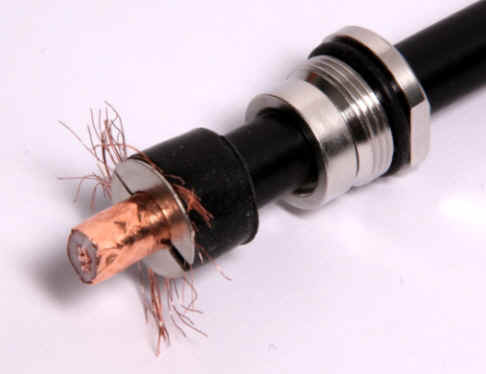
Die Gummidichtung wird bis an den Massehut gedrückt.
Then
push the rubber ring against the metal hat.
Bild 7
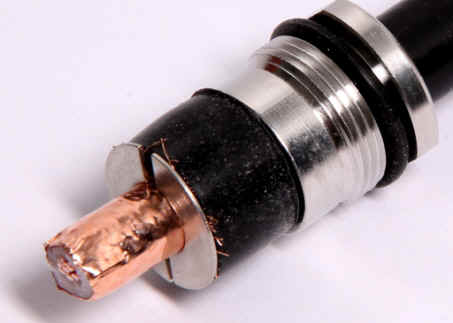
Überhängendes Kupfergeflecht wird abgeschnitten.
Cut off the braided copper wires.
Bild 8

Schneiden Sie Kupferfolie ab. Das Schaum-Dielektrikum wird bis auf den
Innenleiter
durchtrennt und abgezogen.
Cut off the copper foil and the insulation.
Bild 9

Bild 10
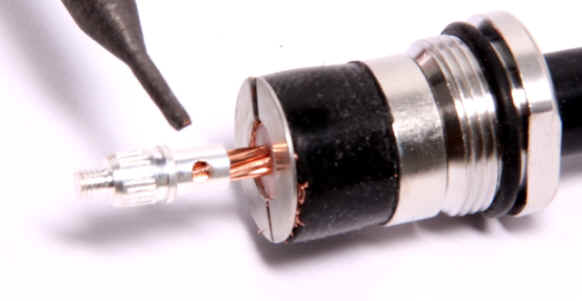
Der Mittelkontakt wird auf den
Mittelleiter gesteckt und verlötet.
Put the center
contact onto the center of the coaxcable. Then solder both parts.
Bild 11
Stecken Sie das gelötete Kabel in das Gehäuse und verschrauben Sie es.
SETZEN
SIE NICHT ZU VIEL KRAFT EIN !
Shove the soldered cable into the body and close it
carefully with the nut.
Do not use too much strenth!
Nach der Kurzschlussüberprüfung können Sie nun den Mittelkontakt
aufschrauben. Nicht zu fest anziehen!
Do not forget to check, if there is a
short-circuit. Now you can screw on the center part.